
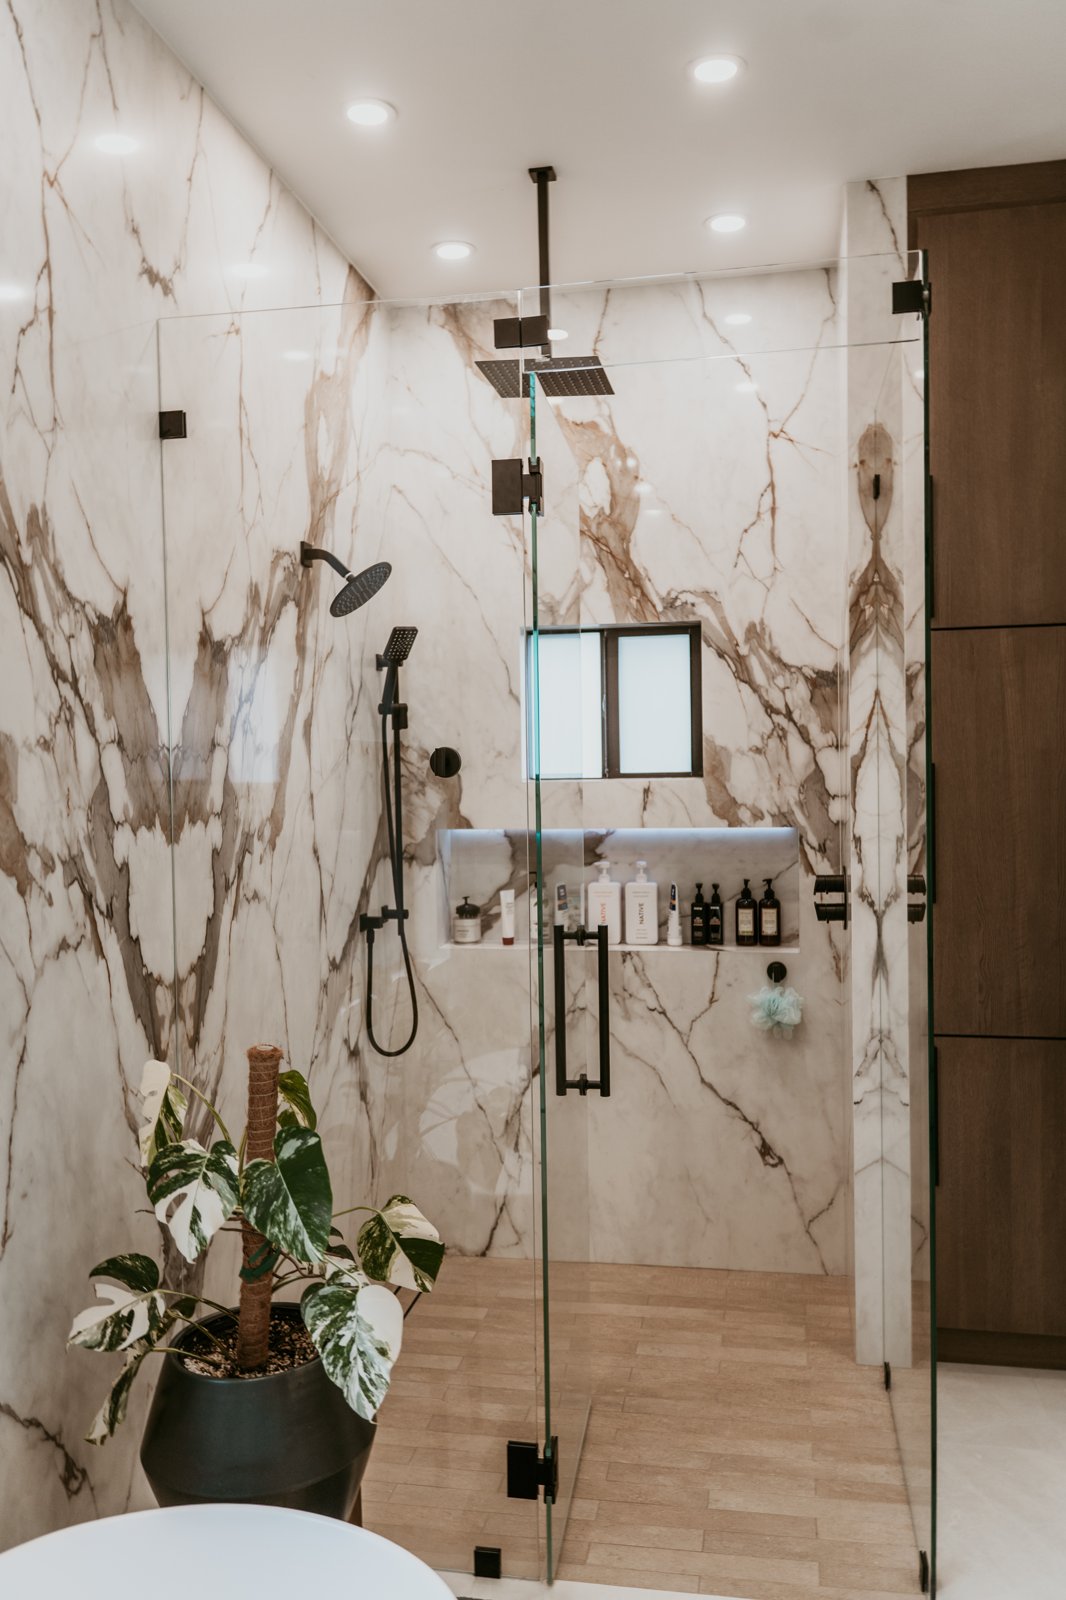
An aging-in-place bathroom is easier to adapt when the important decisions are made before the walls and floor are closed. This checklist focuses on those behind-the-finish choices: wall blocking, drain position, valve location, electrical planning, clearances, and documentation. It complements our broader guide to aging-in-place bathroom remodeling in Southwest Florida by concentrating on what homeowners should confirm during design and rough-in.
Every household and building is different. A remodeler should coordinate the plan with the homeowner, plumber, electrician, building department, product manufacturers, and, when appropriate, an occupational therapist or health care professional. The goal is not to predict every future need. It is to avoid closing a wall over an easy opportunity to make later changes more practical.
Start With the People Who Will Use the Room
Before choosing fixtures, write down who uses the bathroom now and what may change. Consider dominant hand, reach, balance, vision, use of a walker or wheelchair, caregiver assistance, and whether two people need to use the room at the same time. These details affect control locations, bench position, doorway clearance, vanity layout, and the amount of open floor area.
A generic accessibility checklist cannot replace that conversation. For example, a grab-bar location that works for one transfer pattern may not suit another. Record the assumptions behind the plan so a future owner, caregiver, or installer understands why rough-ins were placed where they are.
Confirm the Shower Entry, Drain, and Floor Elevations
A low-threshold or curbless shower can reduce an obstacle at the entry, but the detail must be resolved early. The team should confirm the existing slab or framing, finished-floor thickness, drain location, slope, waterproofing system, glass line, and how water will be directed toward the drain. Those decisions are harder to change after tile is ordered or the floor is prepared.
Ask for a section detail that shows the bathroom floor, shower floor, drain, waterproofing transitions, and any change in elevation. The floor and entry should be designed to direct water to the drain and help contain it within the wet area. No shower layout should be described as risk-free or maintenance-free.
Map Wall Blocking Before Drywall and Tile
Documented wall blocking can make a later support-bar installation easier. During framing, identify possible support locations at the shower entry, beside the toilet, and around a future shower seat. The blocking size, height, fasteners, wall assembly, and final hardware still need to suit the user, product, and applicable requirements.
Take clear photographs with a tape measure visible before the wall is closed, then label the images by wall. Keep those records with the project documents. Blocking does not dictate that a bar must be installed immediately; it preserves options and gives a future installer something better than guesswork.
Plan Vanity and Toilet Clearances Before Framing
Vanity width, counter height, knee space, plumbing, mirror position, outlets, and lighting should be reviewed together. A standard double vanity may work for one household, while another may benefit from open knee space or a section that can be modified later. Avoid calling a vanity “accessible” from height alone; approach space, reach, controls, and the individual user all matter.
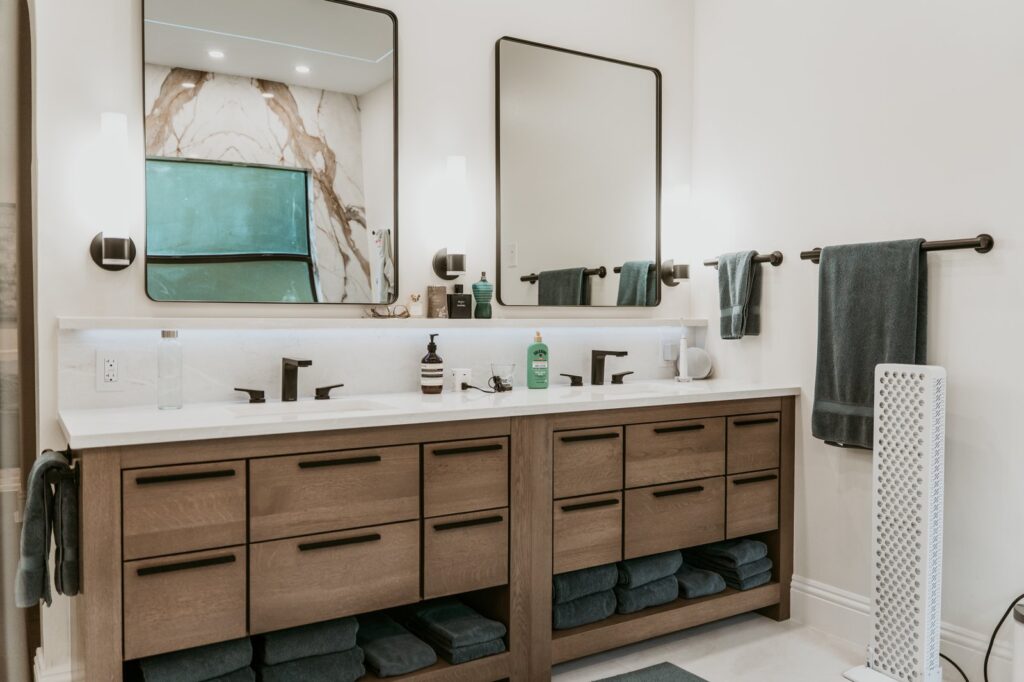
At the toilet, check side clearance, front clearance, paper-holder location, support options, and the direction of the door swing. A taller toilet can be easier for some people and harder for others, so fixture selection should follow the user’s needs rather than a one-size-fits-all rule.
Put Shower Controls and Handheld Fixtures Within Reach
Decide where someone will stand or sit while operating the shower. The mixing valve, diverter, handheld shower head, slide bar, and storage niche should be reachable from the intended position without requiring a person to pass through cold spray or lean across the room. Valve performance and temperature control depend on the selected product and correct installation.
If a bench may be added, confirm its location and structural support before rough-in. Fold-down and built-in seats have different blocking, clearance, and drainage implications. The plumber and installer should coordinate hose length and outlet location with the final seat and control plan.
Rough In Lighting and Electrical Features for Night Use
Lighting should reduce shadows at the floor, shower entry, toilet, and vanity. Consider separate switching for general light, mirror light, shower light, and low-level night lighting. Motion or vacancy sensors can help in some households, but controls still need to be easy to find and operate.
Review outlet position, GFCI protection, fan controls, fixture ratings, and any future powered device with the electrician. If a bidet seat, powered mirror, heated feature, or medical device is a possibility, discussing it during rough-in may prevent exposed cords or later wall repairs. Only install equipment that is listed and suitable for the planned bathroom location.
Review Doorways, Door Swings, and Maneuvering Space
A wider opening may improve access, but the wall structure, adjacent switches, privacy, and available floor area affect what is practical. A pocket door can save swing space, yet the pocket occupies wall space that might otherwise hold plumbing, wiring, or blocking. Resolve those conflicts on the plan instead of at the job site.
Use a scaled layout to test the route from the bedroom or hall into the bathroom and to each fixture. Include door hardware and cabinet projections. Even when no mobility device is used today, clear circulation can make the room more comfortable for carrying laundry, assisting another person, or recovering from a temporary injury.
Coordinate Ventilation and Moisture Management
Southwest Florida bathrooms need a plan for moisture removal. The exhaust fan, duct route, termination, controls, shower enclosure, and drying conditions should be considered as a system. Confirm the fan sizing and installation with the mechanical or electrical professional and follow the product instructions.
Material selections also matter. Tile, grout, sealant, backer, waterproofing, paint, cabinetry, and fasteners should be suitable for their location and maintained as directed. No single finish makes the room immune to moisture; good detailing, ventilation, cleaning, and repair all contribute.
Document the Rough-Ins for Future Changes
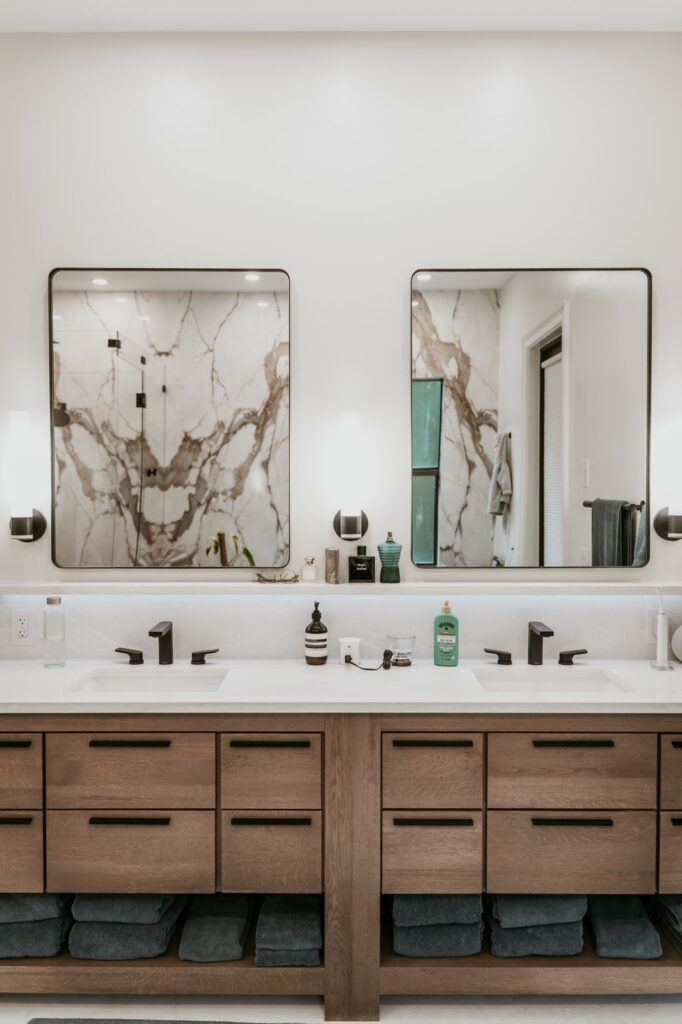
Before walls close, assemble a simple record: dimensioned plans, blocking photos, valve and pipe locations, electrical routes, product model numbers, warranties, and care instructions. A symmetrical vanity or clean residential finish can look conventional while the documentation behind it preserves useful options.
Ask the contractor to note approved field changes rather than relying only on the original drawing. Store the final record with permits and invoices. If a future support bar, seat, control, or fixture is added, the next professional can evaluate real construction information instead of opening finished surfaces to investigate.
The CDC’s fall-prevention guidance recommends grab bars inside and outside tubs or showers and next to the toilet, brighter lighting, and removal of trip hazards. Use that guidance as a discussion checklist, then tailor the construction details to the person and room.
Frequently Asked Questions
Should support bars be installed now or only blocked for later? That depends on current needs and the planned wall assembly. If bars are deferred, document suitable blocking locations. Final placement and anchorage should be selected for the user and product at the time of installation.
Can a curbless shower work in a slab home? Often, but the slab, plumbing, drain, floor elevations, waterproofing, and glass line must be evaluated first. Confirm the construction detail before ordering finishes.
What is the most useful rough-in record? Dimensioned photographs are especially helpful. Include a tape measure, label each wall, and save the final product model numbers and approved plan changes with the permit file.
Does this checklist guarantee an accessible bathroom? No. Accessibility depends on the user, complete layout, products, installation, and applicable requirements. The checklist helps preserve choices and prompts the right coordination before finishes conceal the work.
Alliance Construction coordinates bathroom design and construction decisions with the qualified trades involved in a project. See examples of our bathroom remodeling and review our general contracting process. To discuss your space, call (239) 771-2855 or use the contact form.