
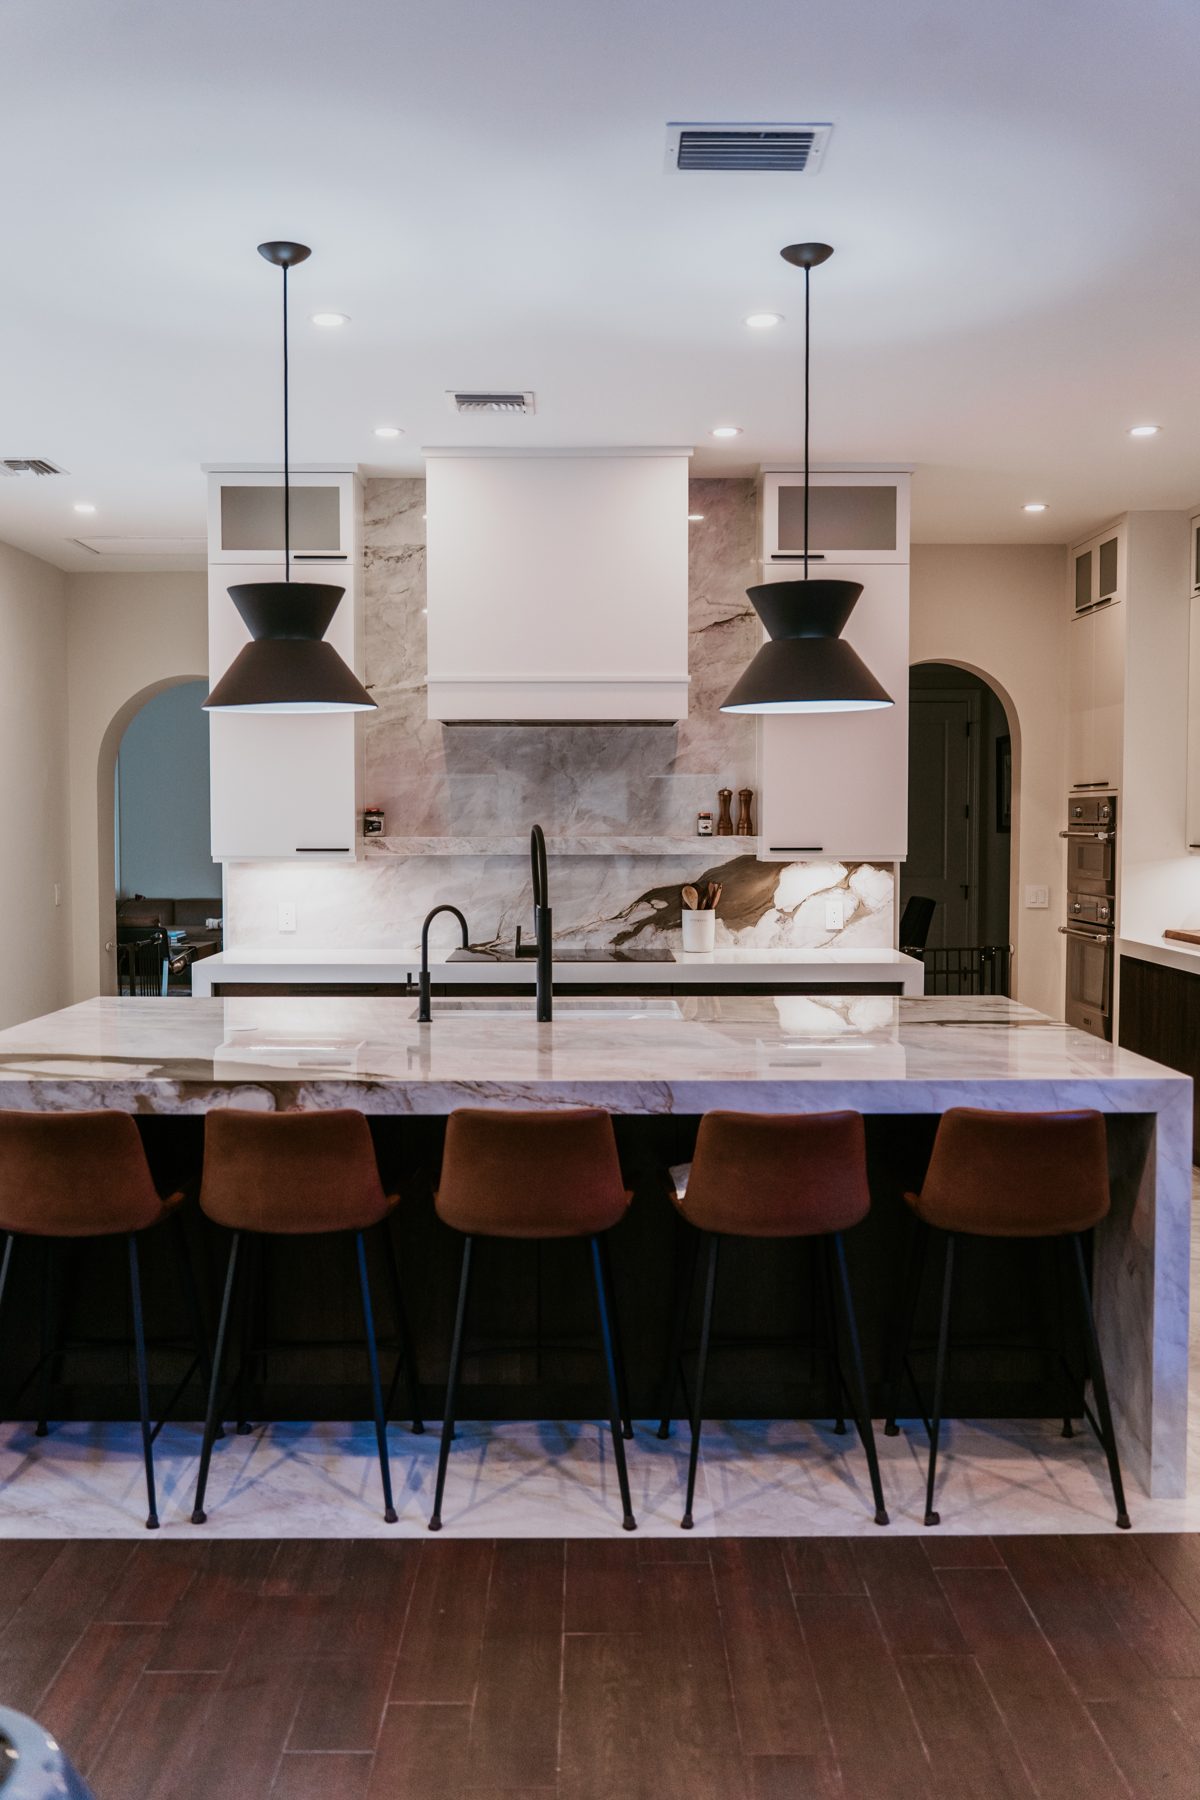
Pendant lights over kitchen island counters do two jobs at once: they light the work surface and they give the room a focal point. They also create more questions than almost any other fixture. How many do you need, how far apart should they hang, and how low is too low? Our team plans these details during remodels across Southwest Florida, and the answers come down to a few repeatable guidelines plus the specifics of your island and your ceiling.
Start With the Island, Not the Fixture
The most common pendant mistake is choosing the light first and discovering later that it does not suit the space. We work in the opposite order. Begin with the island’s length, width, and how it is used. An island that is mainly a prep surface with a sink needs brighter, more functional light than one that serves as a breakfast bar with seating on one side.
Then look at the surroundings. Tall cabinets, a range hood, or an open view to the living room all change how heavy a pendant can look. A fixture that feels right in a showroom can overwhelm a compact island or disappear over a long one. If you are still settling the island itself, our guide to kitchen island layouts for Southwest Florida homes is a good place to begin.
How Many Pendant Lights Over a Kitchen Island
The count should follow the length of the island. Designers commonly work from a simple rhythm: two pendants for a shorter island, three for a medium one, and either three or four for a long island. Odd counts tend to feel centered, while pairs feel formal and symmetrical.
The better test is visual weight. A single oversized pendant can sometimes carry a compact island, and a long linear fixture can replace several small ones.
Spacing Between Pendants and Along the Island
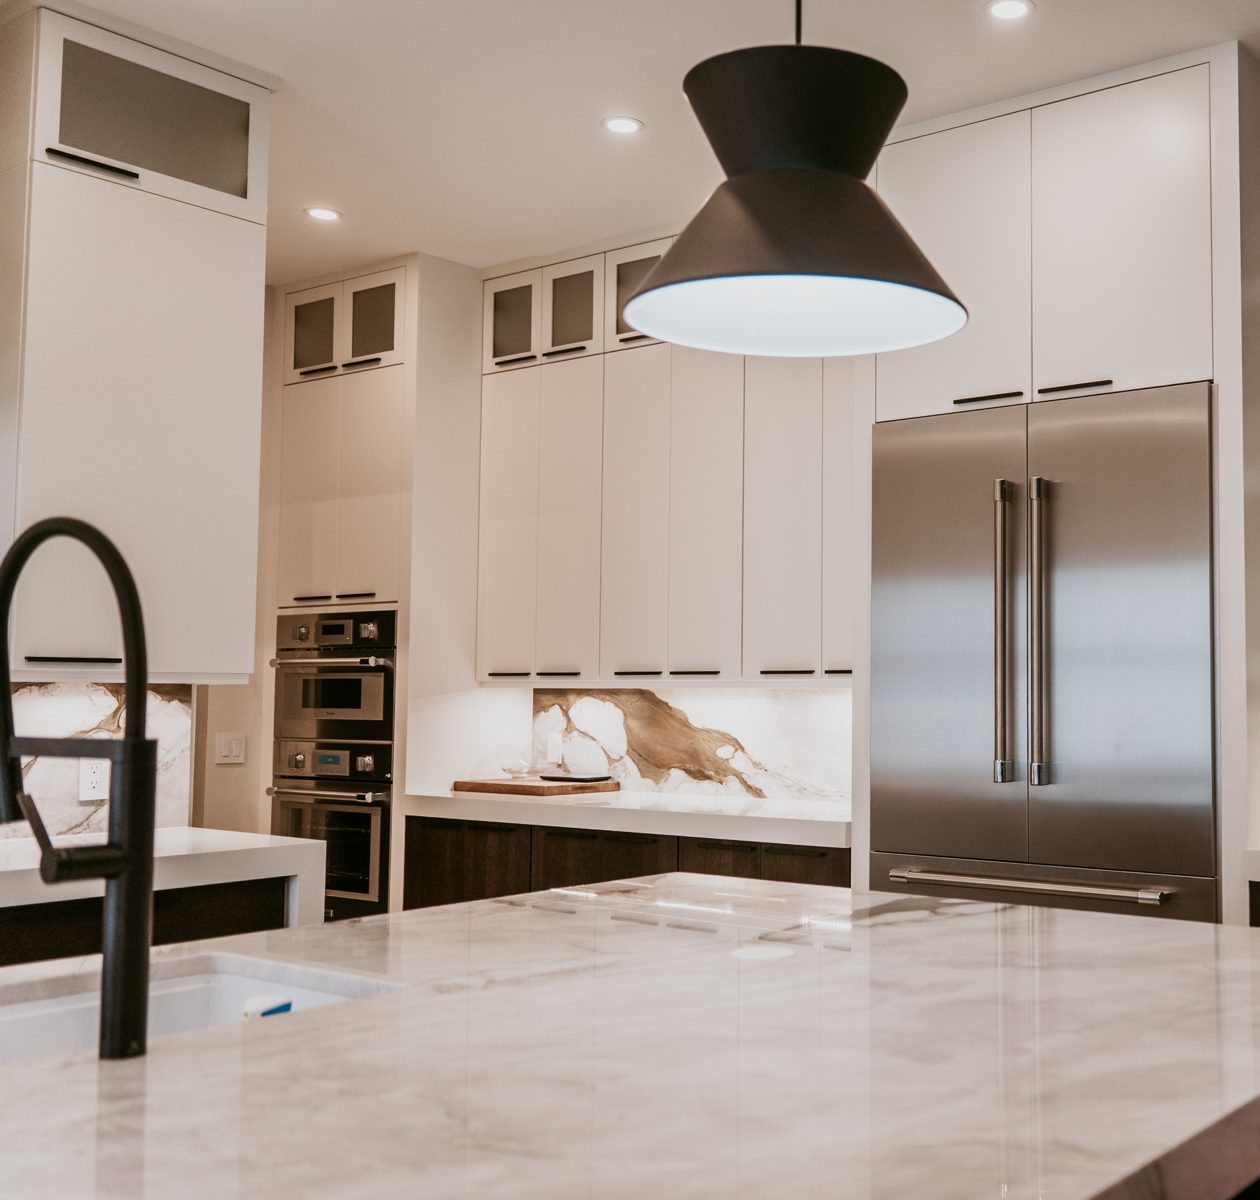
As a general guideline, pendants look best when the space between fixtures is roughly equal to or a little wider than the fixture itself, and when the group is centered along the island’s length. Leaving some breathing room at each end keeps the lights from looking like they are about to slide off the counter.
Spacing is not only about looks. Pendants hung too close together create overlapping pools of light and a cluttered silhouette. Hung too far apart, they leave dark gaps on the work surface. We also check how the spacing lines up with seating, so a bar stool is not forced to sit directly under the edge of a shade. These are design guidelines, not rules, and a good plan adjusts them to your cabinets and sightlines.
Hanging Height and Sightlines
Height is where homeowners feel the difference most. A common guideline is to hang the bottom of the fixture roughly 30 to 36 inches above the island surface, then adjust for ceiling height and the fixture’s shape. Higher ceilings usually call for a longer drop, and a shallow or open fixture can sometimes hang a little lower than a tall, solid one.
The real test is sightlines. Stand at each end of the island and in the adjacent room, and make sure the pendants do not block the view across the kitchen or hide the faces of the people sitting there. Taller family members matter too. We plan the drop with the people who live in the home in mind, because a pendant that looks perfect in a photo can feel like it is in your way every morning.
Scale: Sizing Pendants to the Island
Scale means the width and height of each fixture relative to the island. A pendant that is too small looks lost, while one that is too large crowds the counter and the people using it. A helpful approach is to keep the combined width of the group noticeably shorter than the island so there is visual margin on both ends.
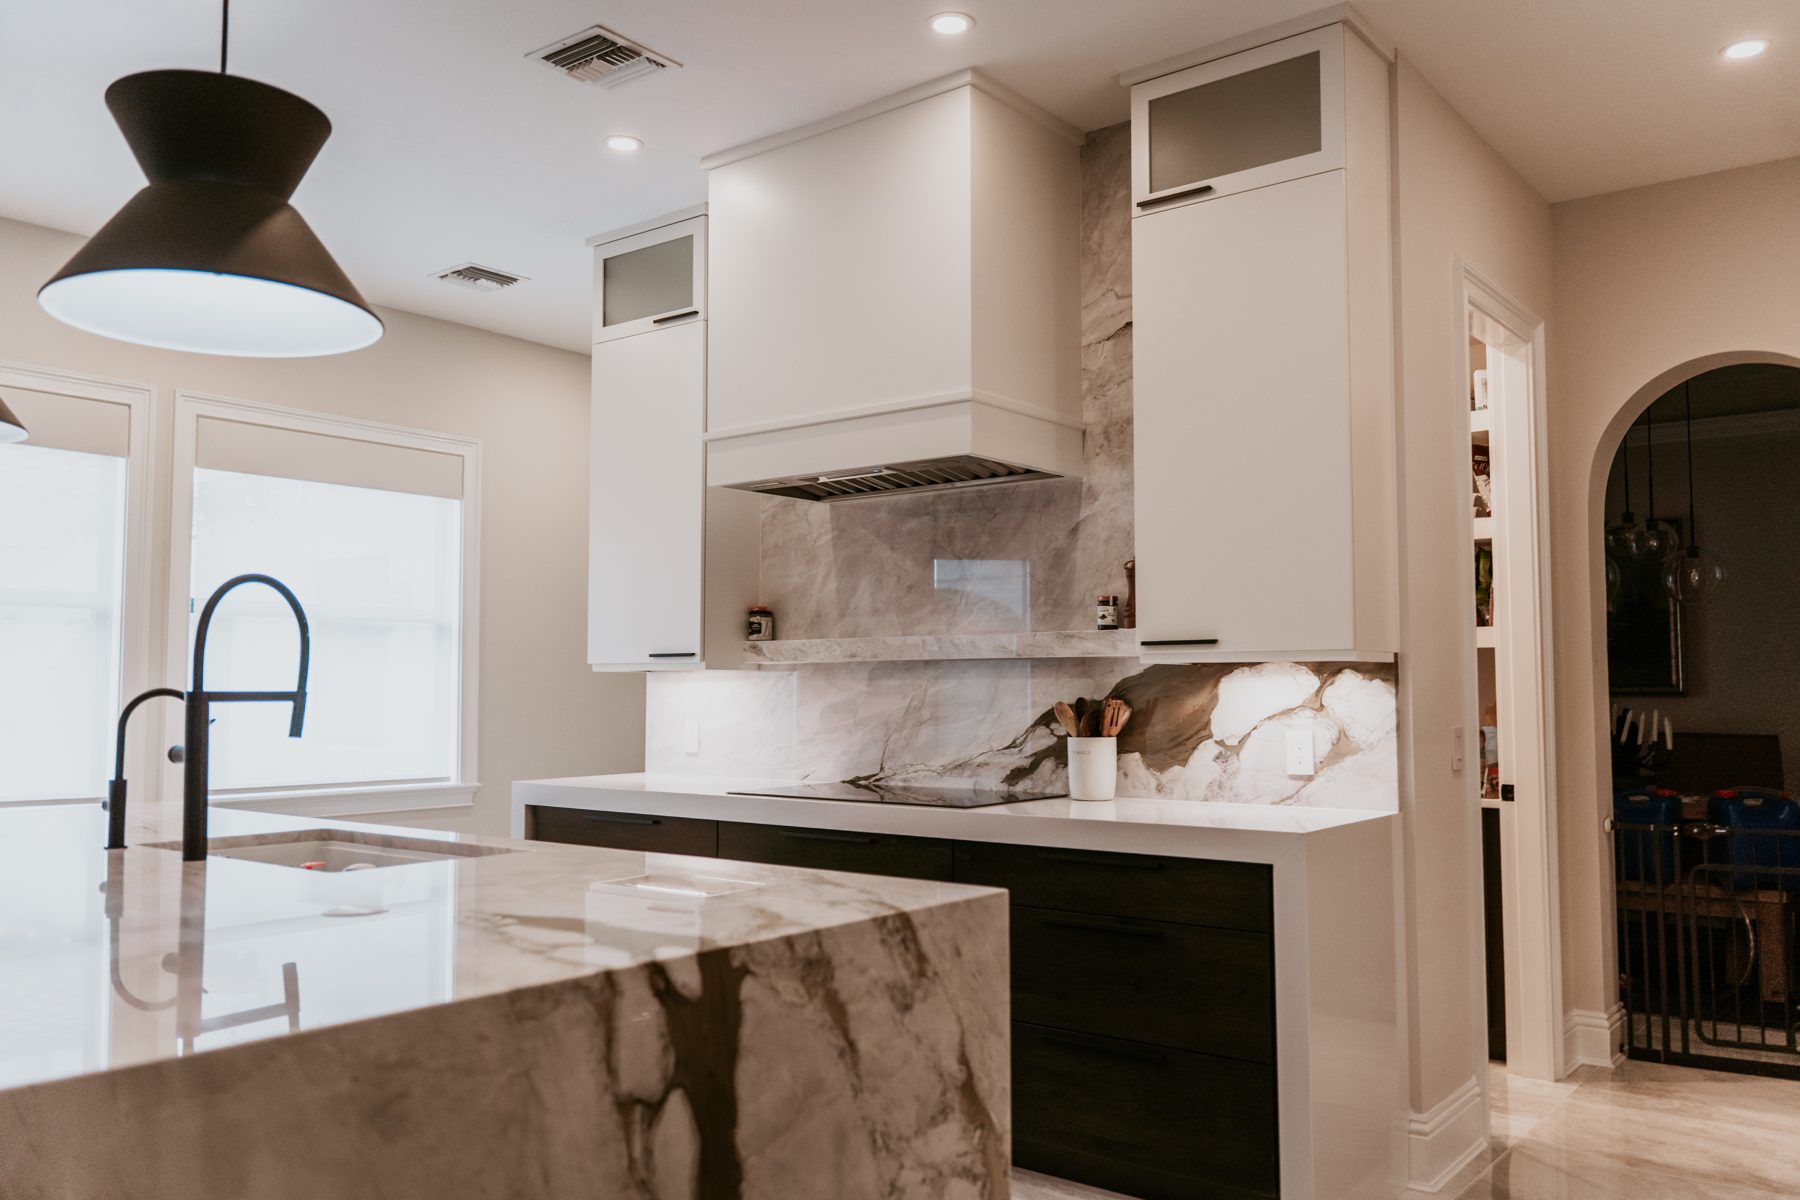
Ceiling height plays a role as well. In a room with high or vaulted ceilings, a larger and longer fixture often reads better. In a standard-height room, a more compact profile keeps the space open. Matching the fixture’s material and finish to the faucet, hardware, and cabinet details ties the kitchen together, which is something we cover when we plan a full kitchen remodel.
Glare, Brightness, and Dimmers
Pendants should be comfortable to sit under. Fixtures with exposed bulbs can create glare, especially over a polished stone surface that reflects light back at your eyes. Shades that diffuse or direct the light downward, or bulbs with a softer output, help prevent that harsh reflection.
We almost always recommend placing pendants on a dimmer. Evening entertaining, morning coffee, and late-night homework call for different levels of light, and a dimmer lets one fixture handle all of them. Pendants are also best treated as one layer of light. Recessed lights, under-cabinet lighting, and natural light all contribute, and the combination is what makes a kitchen feel both bright and warm. We are glad to talk through bulb options during planning.
Wiring and Electrical Planning
Pendants need a power source in exactly the right spot, and that is easy to settle when the walls and ceiling are open and much harder afterward. During a remodel, we mark each fixture location, confirm the ceiling can support the weight, and plan the switch and dimmer locations so everything works together. A licensed electrician should handle all wiring and connections, and permit requirements vary by jurisdiction, so check with your building department or contractor early in planning.
Lighting layout, cabinet design, and electrical work are easiest to settle together while the walls and ceiling are open. If a pendant needs to be centered on an island that is not yet built, that planning happens before the first cut, not after the cabinets arrive.
Finish, Material, and Coastal Humidity
Southwest Florida kitchens deal with humidity, salt air near the coast, and open doors and lanais that let moisture in. Fixture finish matters in that setting. Painted or coated metal, glass, and other sealed materials generally hold up better than raw or unprotected finishes that can spot or discolor over time. Ask the manufacturer about the finish and whether the fixture is suited to your conditions.
Cleaning is another practical point. Shades with deep interiors collect dust and the occasional insect, and wide surfaces over a cooking area can pick up grease. A simple shape with easy access for wiping makes upkeep easier. If your island sits near the range, think about how a hood and pendants will share the space, as we describe in our range hood design ideas.
Frequently Asked Questions
How low should pendant lights hang over an island?
A common guideline is around 30 to 36 inches from the island surface to the bottom of the fixture, adjusted for ceiling height, fixture shape, and the height of the people using the kitchen. Always check sightlines in person before finalizing.
How many pendant lights should I put over my island?
Two or three is typical for many islands, with more for a very long one. The right number depends on fixture size and island length, and a single large fixture can work on a compact island.
Do pendant lights need a dimmer?
We recommend one. A dimmer lets the same pendants serve as bright task lighting for cooking and softer light for dinner or entertaining, and it helps control glare over a polished surface.
Can pendants be added to an island that already exists?
Often yes, but it depends on what is above the ceiling and where power can be reached. A licensed electrician should evaluate the wiring, and the work is much simpler when the ceiling is already open during a remodel.
Planning pendant lighting is easier when it is part of a complete kitchen design. Call (239) 771-2855 to request an estimate, or visit our kitchen remodeling page to see how we approach it. For general planning guidance, the National Kitchen and Bath Association publishes widely used design resources. We are a licensed Florida building contractor (CBC1268590).