
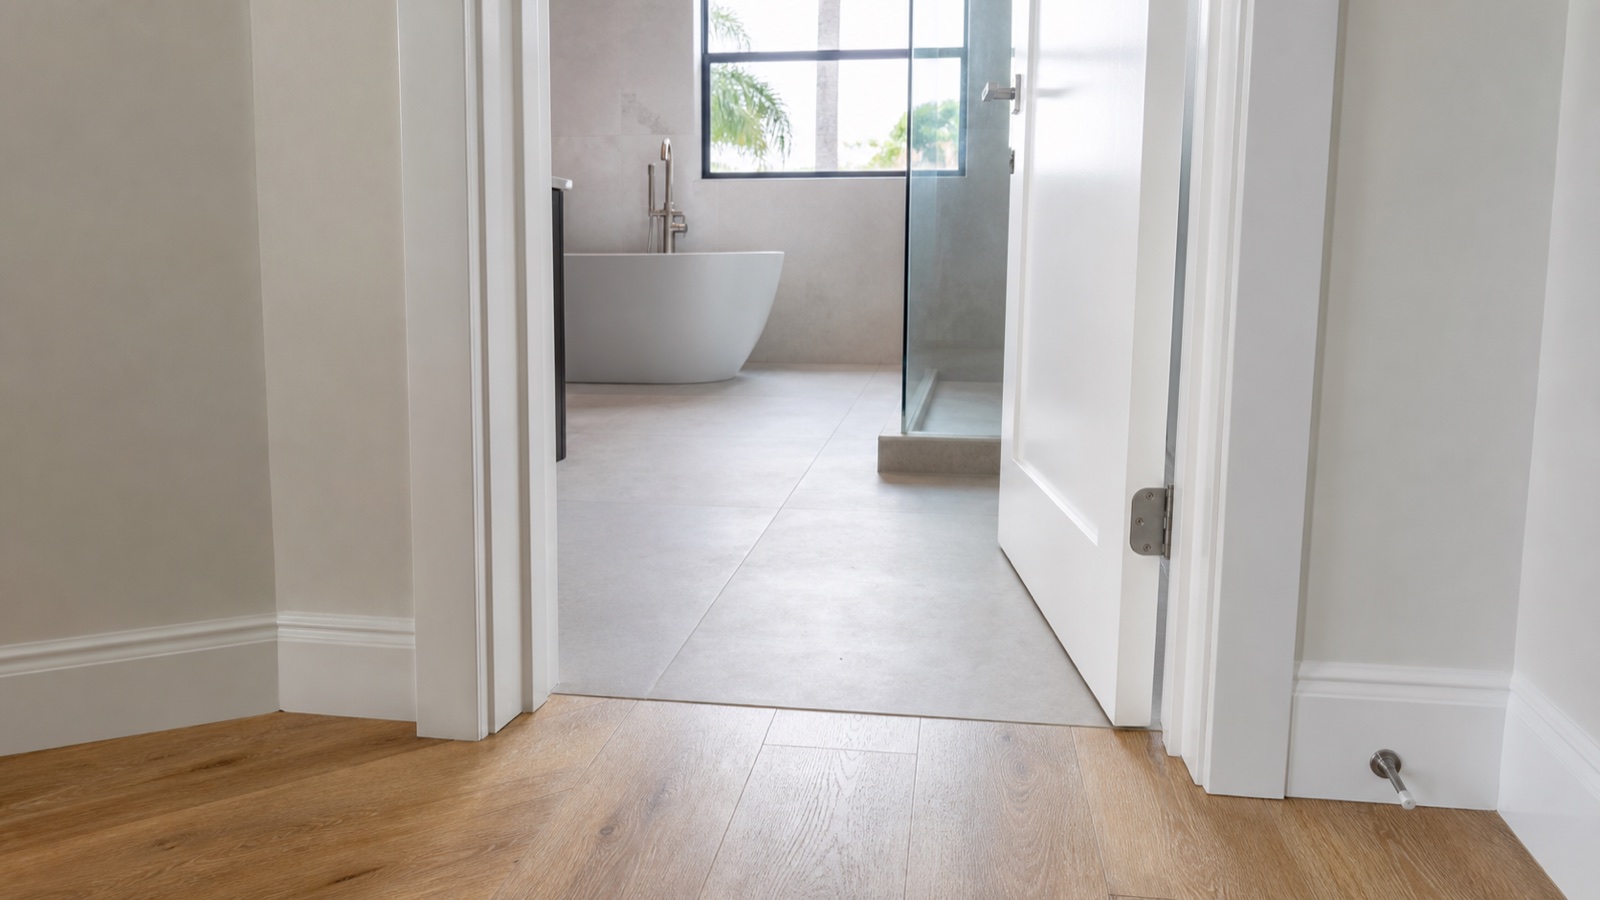
Flooring transitions are a small detail with a large effect on a whole-home remodel. They determine how one room connects to another, whether material changes look intentional, and how comfortably people move through the home. For Cape Coral homeowners, transition planning also needs to account for slab conditions, moisture-prone rooms, exterior entries, and the different installation requirements of tile, luxury vinyl plank, and engineered wood.
At Alliance Construction & Renovation, we plan flooring transitions alongside the larger layout, demolition, cabinetry, and finish selections for a remodel. A transition is not simply a strip installed after the floor is complete. Its location, profile, material, and height relationship should be considered before flooring crews begin. We never promise a perfectly flush result before measuring the existing floors, substrate, selected materials, and installation assemblies.
Continuous Flooring Versus Planned Material Changes
Continuous flooring means carrying one material through connected spaces with limited visible interruption. This approach can make an open kitchen, living room, dining area, and hallway feel larger and more unified. It may also reduce the number of transition strips underfoot. LVP and certain engineered wood products are commonly considered for continuous dry-area installations, while tile can create a consistent surface where the substrate and layout support it.
Continuous flooring is not automatically the best choice for every room. Bathrooms, laundry rooms, showers, exterior entries, and bedrooms may have practical reasons for a material change. Tile may be selected in wet areas for its surface characteristics, while LVP or engineered wood may better suit adjoining living areas. A material boundary can define a room, support a change in installation method, or separate spaces with different moisture exposure.
We review the visual flow from main sightlines, including the front entry, kitchen, primary suite, and hallway connections. We also consider where the flooring change will land. A transition placed in the middle of a wide opening can look arbitrary. Aligning it with a doorway, a cased opening, an island edge, or another architectural line often produces a more deliberate result. Our Cape Coral remodeling planning process considers these decisions early, before flooring orders and surface preparation are finalized.
Matching Tile, LVP, and Engineered Wood Heights
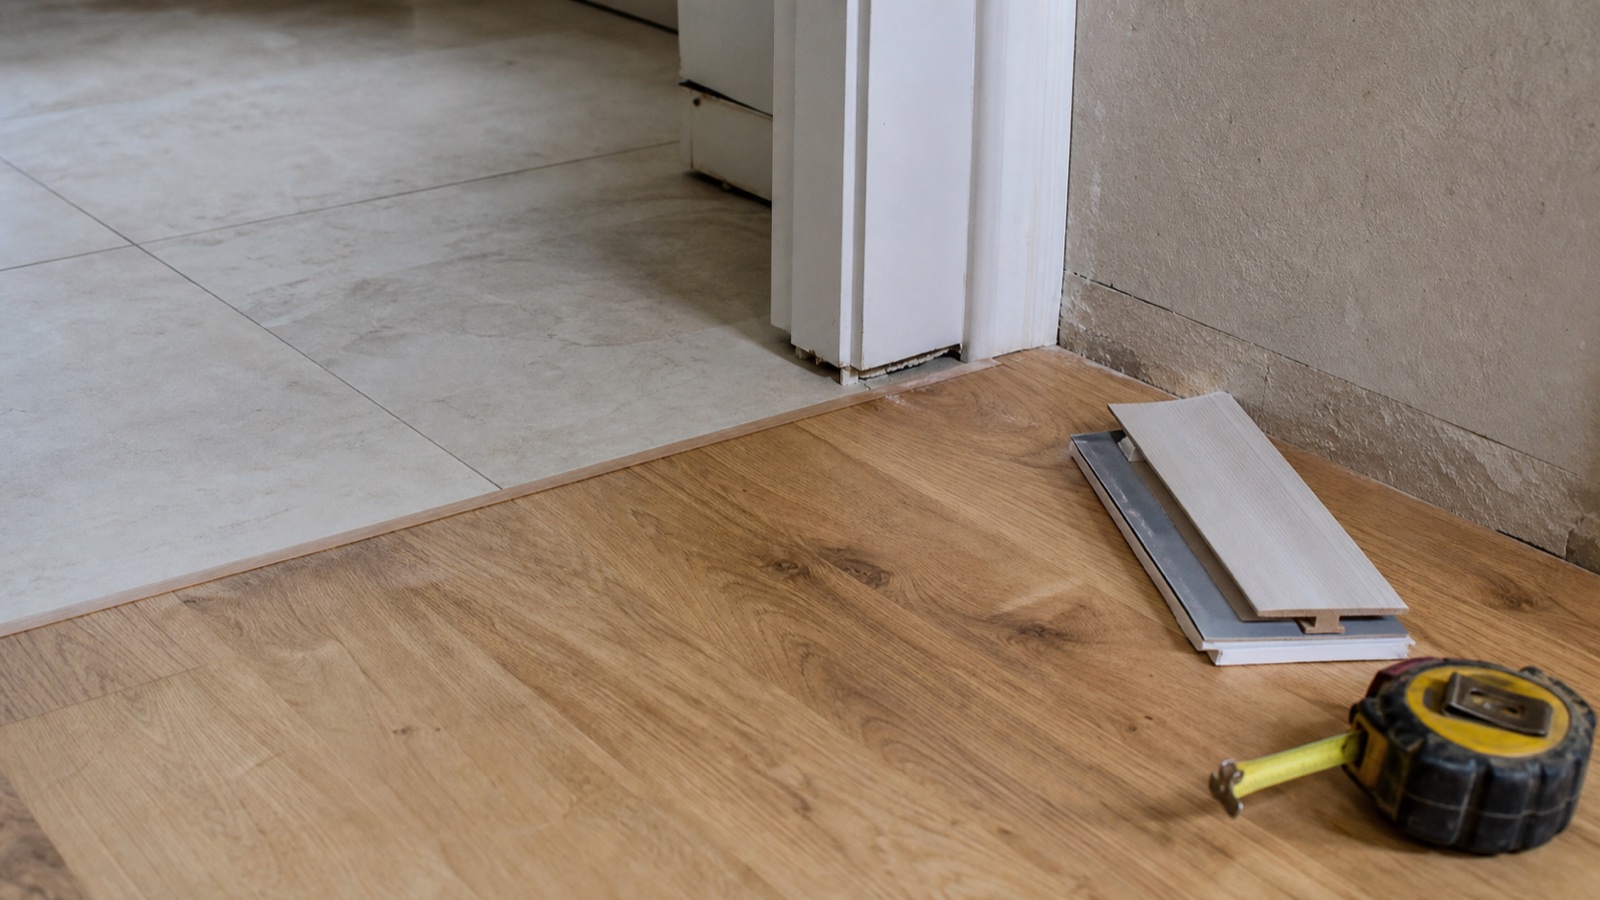
Tile, LVP, and engineered wood rarely build to the same finished height without planning. Tile includes the tile thickness, mortar bed, underlayment or membrane where used, and grout joint detailing. LVP height depends on the product and whether it is installed as a floating or adhered floor. Engineered wood can vary substantially by product thickness and installation method. Existing floor layers, slab conditions, and patching needs can add further variables.
When floors meet at different elevations, we evaluate whether the difference can be managed through substrate preparation, a selected transition profile, or a change in material assembly. A reducer is commonly used where one finished floor sits higher than the adjacent surface. It slopes from the higher material to the lower one, helping create a more gradual change. Reducers can be made from coordinating wood, vinyl-compatible profiles, metal, or other manufacturer-supported materials.
A T-molding is typically used where two floor surfaces are close in height but need a visible separation and room for movement. It has a top profile that bridges the joint while leaving space below for the flooring edges. A threshold is more often used at an exterior door, bathroom entrance, or another defined opening where a durable edge condition is needed. Each choice should match the location, expected traffic, moisture exposure, and installation instructions for the products involved.
Flush Transitions Depend on Substrate Conditions
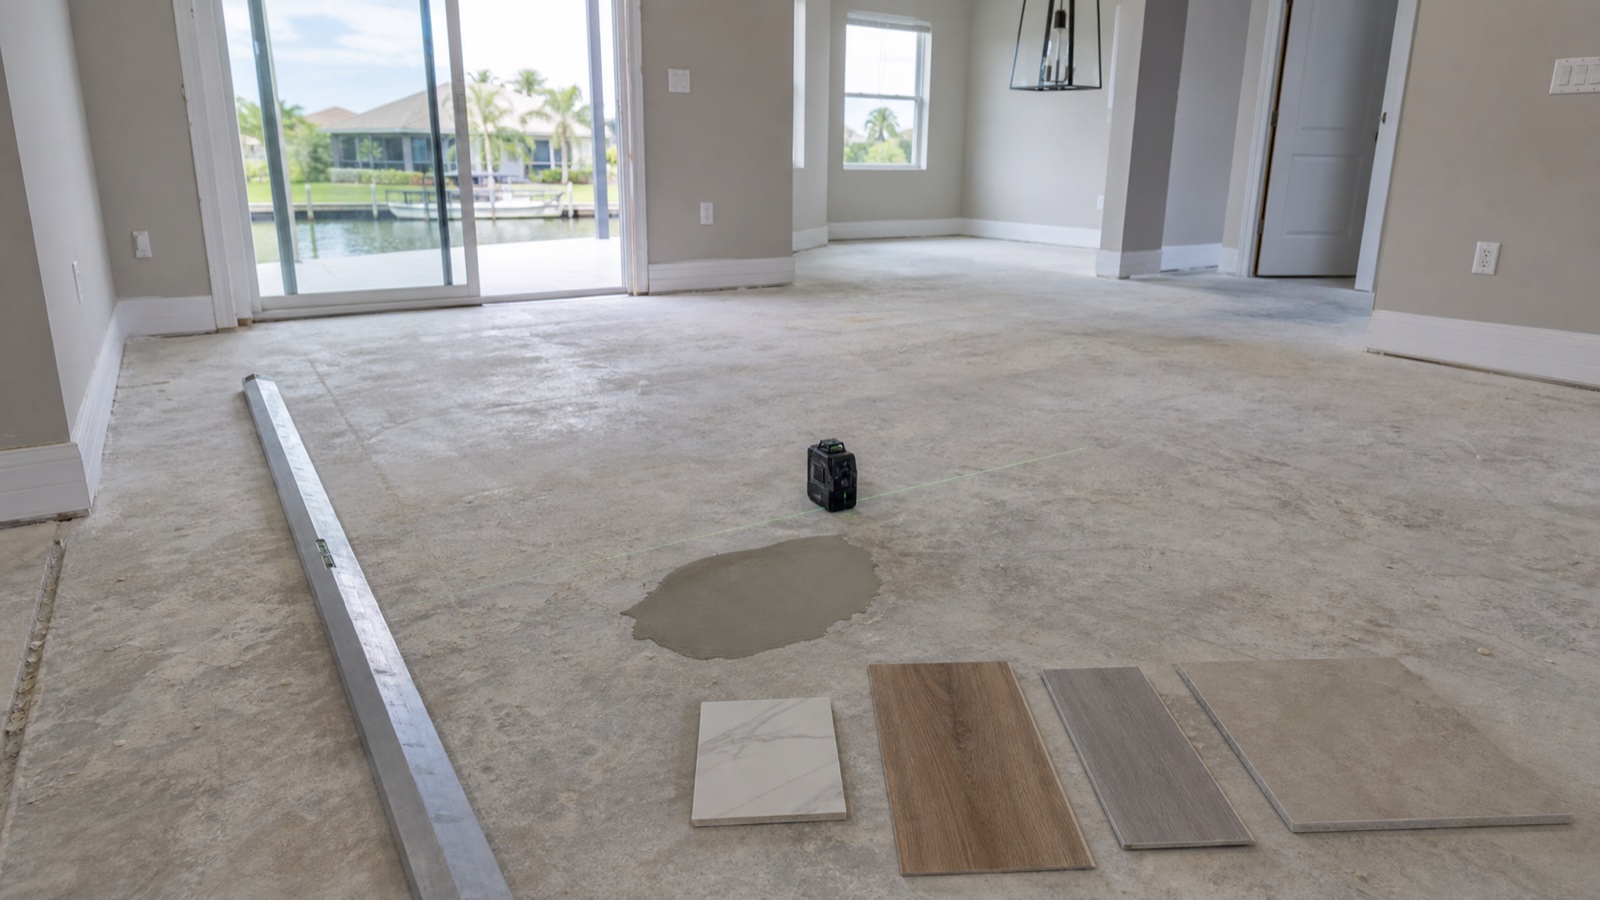
A flush transition can create a clean, low-profile connection between materials, but it requires careful measurement and preparation. The term does not mean every surface can be made level without consequences. A flush detail may require removing existing flooring, adjusting the tile assembly, using approved patching materials, changing product selection, or addressing a slab that is not sufficiently flat for the new flooring system.
Flatness matters for several reasons. Tile installations need an appropriate substrate condition to support consistent tile placement and reduce lippage concerns. Floating LVP and engineered wood also have manufacturer limits for substrate variation. If the slab has low areas, high spots, old adhesive, cracks, or uneven patches from prior renovations, those conditions can affect both the floor installation and the transition between rooms.
We inspect the existing surface after demolition whenever possible because hidden conditions are common in older homes and previously remodeled spaces. We then compare the actual elevations of adjacent rooms and review options with the homeowner. In some cases, a modest profile is more practical than building up or removing large areas solely to chase a flush meeting point. The goal is a transition that is durable, understandable underfoot, and appropriate for the selected flooring.
Expansion Gaps and Movement Joints Need Space
Flooring materials move differently with temperature, humidity, and normal building conditions. LVP and engineered wood installations often require perimeter expansion space and may require transitions or expansion breaks based on the product instructions and room configuration. Covering an expansion gap with a molding does not eliminate the need for the gap itself. The floor needs space to move without binding against walls, cabinetry, door jambs, or adjacent hard surfaces.
Tile assemblies also require movement accommodation at perimeters and in appropriate locations within larger installations. Those details should be coordinated with the tile layout, room geometry, sunlight exposure, and changes in plane or substrate. Grout alone should not be treated as a substitute for all movement-joint planning. We review the applicable installation guidance for the selected materials and coordinate transition details with the flooring installer.
This is particularly important in broad open-plan areas. A homeowner may prefer a seamless appearance from kitchen to great room, but the flooring product may call for a break based on its installation limits. We explain where a transition is necessary, what it will look like, and whether a layout adjustment can make it less noticeable. Product requirements should guide the detail rather than forcing a floor into an unsupported configuration.
Doorways, Wet Areas, and Room Flow
Doorways are common transition locations because they naturally separate rooms and can conceal the end of one flooring installation. The best placement depends on the door type, jamb location, direction of travel, and whether the door is normally open or closed. With a swinging door, we often look at where the transition will appear when the door is closed and whether it aligns with the door leaf. Pocket doors, wide openings, and barn-style doors require their own layout review.
Bathrooms and laundry areas need additional attention. The flooring change may help manage a difference between a wet-area tile assembly and adjoining LVP or engineered wood. It can also define where waterproofing-related details, sealants, and floor protection change. At shower entries, curbs, curbless conditions, drainage, and waterproofing details must be planned as a system rather than treated as a standard doorway transition.
At exterior doors, lanai doors, and garage entries, we consider thresholds, water exposure, door clearances, and the relationship between interior flooring and the opening. Cape Coral homes can have strong sunlight at sliding glass doors and high use at pool or lanai access points. The transition selection should be suitable for that traffic and should not interfere with door operation or create an awkward edge where people regularly step.
Plan Transitions for Safe, Comfortable Movement
Any flooring change should be easy to recognize and comfortable to cross. Abrupt lips, loose moldings, sharp tile edges, or poorly placed thresholds can create trip concerns. Color contrast, lighting, surface texture, and the direction of travel all affect how noticeable a transition feels. A transition that is visually subtle can still be appropriate, but it should not disguise a meaningful height change.
We evaluate trip awareness as a practical day-to-day issue. Primary walking paths, transitions near stairs, bathroom entries, and locations used by children, older adults, guests, or anyone using mobility equipment deserve close attention. A well-chosen reducer or threshold may be more appropriate than a narrow, abrupt material edge.
Planning Flooring Transitions in the Right Sequence
Transition decisions work best when they are made before final flooring installation. We begin by documenting existing elevations, planned demolition, slab conditions, room uses, and material selections. Next, we identify every material meeting point and determine whether it needs a flush detail, reducer, T-molding, threshold, movement joint, or another approved profile.
Cabinetry, appliances, interior doors, baseboards, shower work, and exterior door conditions can all influence the sequence. For example, kitchen flooring may run beneath some components but terminate at others depending on the design and installation method. Door jambs may need to be undercut or replaced. Baseboard installation is generally coordinated after the finished flooring elevation is known, so it can properly cover perimeter gaps where appropriate without pinning a floating floor in place.
We also verify product compatibility before selecting trim pieces. A metal profile may be suitable at a tile edge, while a manufacturer-matched molding may be needed for a floating LVP or engineered wood system. Manufacturers such as Schluter publish floor-profile options for different material meetings and edge conditions; these product families are useful examples, not universal selections for every floor. Our flooring installation work focuses on these connected details, not only the appearance of the field flooring. For larger projects, our renovation planning helps coordinate flooring with the rest of the home so late changes do not create avoidable transition issues.
Frequently Asked Questions About Flooring Transitions Cape Coral
Can we use one flooring material throughout the entire home?
Possibly, depending on the chosen product, room conditions, substrate, and installation instructions. Continuous flooring can simplify visual flow, but wet areas, exterior entries, large spans, and product movement limits may still require specific transitions or different materials.
What is the difference between a reducer and a T-molding?
A reducer slopes from a higher finished floor to a lower one. A T-molding generally bridges two floors that are close in height while allowing a separation between their edges. The correct choice depends on the actual height difference and flooring system requirements.
Can a tile-to-LVP transition be completely flush?
It may be possible in some projects, but it cannot be determined from product samples alone. We need to measure the slab, existing layers, tile assembly, LVP thickness, and required preparation before recommending a flush-transition approach.
Should transitions go directly under interior doors?
Often, but not always. We evaluate the door swing, jamb location, room sightlines, and the flooring layout. Positioning the transition beneath a closed door can create a clean visual break, while wider openings may call for alignment with another architectural feature.
Discuss Your Whole-Home Flooring Plan With Our Team
If you are planning a Cape Coral whole-home remodel, we can help evaluate flooring transitions before material installation begins. Alliance Construction & Renovation is a Florida contractor, CBC1268590, located at 11751 Metro Pkwy STE 1, Fort Myers. Contact us at (239) 771-2855 or use our contact page to discuss your flooring, renovation scope, and transition priorities.
We Serve Southwest Florida
Alliance Construction provides remodeling services in Cape Coral, Naples, Bonita Springs, Estero, North Fort Myers, and Punta Gorda. View all services →