


A curbless walk-in shower in Bonita Springs is one of the most requested bathroom upgrades we see across Southwest Florida, and for good reason. The barrier-free floor transition looks clean, reads larger in compact bathrooms, and eliminates the step that becomes a genuine hazard as homeowners age in place. In a coastal community where many residents split time between residences and want worry-free, low-maintenance interiors, the curbless format delivers on both counts. This article walks through exactly how these showers are designed and built: proper slope, waterproofing membranes, linear versus center drains, tile selection, and the code details that matter under Florida Building Code; so you can evaluate bids and materials with confidence.
Why Bonita Springs Homeowners Choose Curbless Showers
Bonita Springs sits at the intersection of several trends that make the curbless shower format particularly practical. Many homes here were built in the 1990s and early 2000s as mid-size retirement or snowbird properties, often featuring standard 3-foot-by-4-foot shower stalls with 4-inch curbs and fiberglass surrounds. Those surrounds crack, stain, and harbor mold in year-round 70-plus percent humidity. Replacing them with a tiled curbless enclosure solves the maintenance problem while bringing the aesthetic in line with current design expectations.
Accessibility is the other driver. Florida leads the country in residents over 65, and Bonita Springs is no exception. A curbless shower can be planned around aging-in-place goals with details such as a fold-down bench, pressure-balanced valve, grab bars, and clear floor space, but the final layout still has to be measured against the required dimensions for that specific bathroom. Buyers in the Bonita Springs real estate market have come to recognize that detail as a value-add rather than a concession.
There is also a spatial perception benefit. Slab-on-grade construction (the standard throughout Lee and Collier counties) limits how much you can drop a shower floor, so curbless designs rely on visual continuity rather than physical depth. Carrying the same large-format porcelain tile from the shower floor into the main bathroom floor makes a 60-square-foot bathroom feel significantly more open. That single design choice is one of the most cost-effective square-footage illusions available in a bathroom remodel.
For homeowners evaluating the investment, a full bathroom renovation in Southwest Florida typically runs $18,000–$40,000 depending on scope, with the shower enclosure itself accounting for roughly $4,000–$12,000 of that range depending on tile specification, drain type, and glass selection. Learn more about scope and budgeting on our bathroom remodeling service page.


Slope, Drainage, and the Florida Slab Challenge
The single most important technical detail in a curbless walk-in shower is water control. Without a curb to act as a physical barrier, the floor must shed water entirely through slope and drainage, and in a slab-on-grade home, you have limited vertical space to work with.
How Much Slope Is Required
The Florida Building Code references ANSI A108 standards for tile installation, which require a minimum slope of 1/4 inch per foot toward the drain for shower floors. In practice, many installers target 3/8 inch per foot in curbless applications to compensate for the absence of a curb. That means a 36-inch-wide shower floor drops roughly 3/4 to 1-1/8 inch from the far wall to the drain. On a concrete slab, achieving that slope requires a mud-bed mortar base (typically a 60/40 mix of sand and Portland cement) built up to the correct pitch before waterproofing and tile are applied.
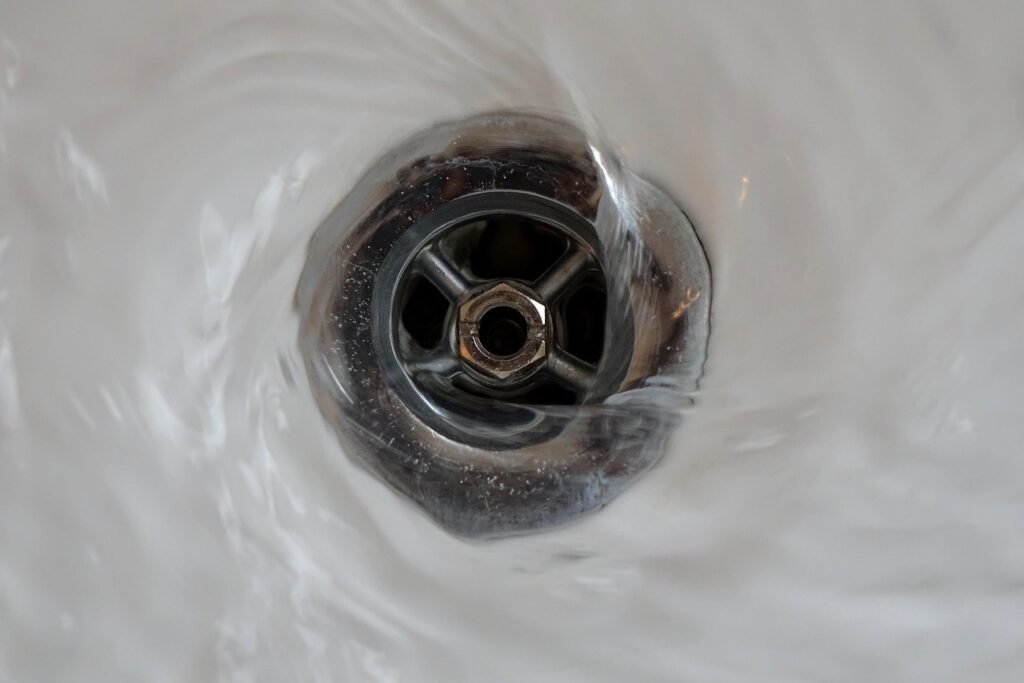
Linear Drain vs. Center Drain
A center drain in a curbless shower requires a four-way slope; all four sides of the floor pitch toward a single point. This is geometrically demanding with large-format tile (24×24 or larger) because the stone or porcelain must be back-buttered and supported precisely to avoid lippage. A linear drain placed along one wall simplifies the slope to a single direction, allows full-field tile runs without cuts, and creates a cleaner modern look. Linear drains run approximately $150–$400 for the fixture itself; factor in an additional $300–$600 for the specialized waterproof linear drain channel and cover.
Slab Penetration Realities
Cutting into a concrete slab in Lee or Collier County to relocate a drain is a meaningful cost item: typically $800–$1,800 for the saw-cut, core, and patch, and it requires a permit in most jurisdictions. Slab-on-grade homes also run supply and drain lines below the slab, so rerouting plumbing can expose buried cast-iron or PVC lines that may need upgrading. Any licensed Florida general contractor should camera-scope existing lines before committing to a drain relocation price.
Waterproofing Systems That Hold Up in Southwest Florida
Waterproofing is where curbless showers succeed or fail. In a conventional curbed shower, the curb provides a secondary line of defense: water that escapes tile and grout joints is still physically contained. Remove the curb and your waterproofing membrane is the only thing standing between a beautiful tile shower and a rotted subfloor or, in a slab home, a moisture intrusion into adjacent flooring.
Southwest Florida’s year-round humidity and warm temperatures accelerate mold and mildew growth in any moisture-compromised wall or floor assembly. The standard of practice for quality curbless shower construction includes:
- Foam shower bases or pre-sloped mortar beds: Closed-cell foam bases (such as Wedi or Schluter Kerdi-Shower) are factory-sloped, lightweight, and waterproof by nature of the material. They are installed directly on the slab and eliminate the curing wait of a mortar bed. Cost premium over a mortar bed is roughly $200–$500 depending on size.
- Sheet-applied or liquid-applied membranes: CPE (chlorinated polyethylene) sheet membranes have been the industry standard for decades, folded up walls a minimum of 3 inches. Liquid-applied membranes like RedGard or Schluter Kerdi-Band brushed into corners and seams are increasingly common as a complement to foam board systems.
- Peel-and-stick membrane underlayment: In the transition zone at the threshold of a curbless shower (the most vulnerable point) a peel-and-stick membrane lapped over the mud bed and under the adjacent floor tile creates a continuous waterproof plane without mechanical fasteners that could puncture the assembly.
The transition zone deserves particular attention. This is the 6-to-12-inch area at the opening of the shower where the sloped shower floor meets the level bathroom floor. Many installers use a Schluter Reno-T or similar aluminum transition profile to define the edge cleanly, prevent tile chipping, and provide a visual cue that communicates “shower floor begins here” without a physical curb. It is a small detail that resolves both aesthetics and durability simultaneously.
Tile Selection for a Curbless Shower in a Coastal Climate
Tile choice in a Bonita Springs shower has to account for salt-air humidity, cleaning practicality, and slip resistance; not just color palette. Homes within five miles of the Gulf coast deal with elevated chloride exposure that can corrode metal fixtures and degrade grout if the wrong products are specified.
For the shower floor, slip resistance is measured by a Dynamic Coefficient of Friction (DCOF) rating. ANSI A137.1 requires wet-area floor tile to achieve a DCOF of 0.42 or greater. Large-format polished porcelain slabs that look striking on a bathroom floor may fall well below that threshold when wet. Smaller mosaic tile (2×2 or 1×2 subway-format) creates more grout joints, which actually increases traction. Rectified 4×12 or 6×6 matte porcelain in neutral tones is a practical compromise: enough grout joint frequency for grip without the grout-cleaning burden of dense mosaic.
For shower walls, the options expand considerably. Popular specifications in current Bonita Springs remodels include:
- Large-format porcelain (24×48 or 12×24): Fewer grout joints, easier cleaning, contemporary look. Requires a flat substrate; foam board systems are ideal because they eliminate the variance of mortar-bed walls.
- Glazed ceramic subway tile (3×6 or 4×12): Cost-effective, widely available, and timeless. Install cost is lower because the smaller format tolerates minor substrate variation better.
- Porcelain marble-look tile: Provides the visual warmth of natural stone without the sealing requirements. In a high-humidity environment, unsealed natural marble in a shower is a maintenance commitment many homeowners regret. Porcelain replicas have improved substantially: 3/4-inch rectified tiles with matching grout are difficult to distinguish from stone at normal viewing distances.
Grout selection matters as much as tile. Epoxy grout resists staining and mold but is unforgiving to install and expensive: roughly $8–$15 per square foot installed versus $4–$8 for sanded or unsanded cement grout. A practical middle ground is a cement grout with a factory sealer incorporated, such as Laticrete PermaColor or Custom Building Products TileLabGrout, reapplying a penetrating sealer annually.
Glass Enclosures, Ventilation, and Hurricane Considerations
A curbless shower in Bonita Springs is almost always paired with a frameless glass enclosure: typically 3/8-inch or 1/2-inch tempered glass panels with minimal hardware. Frameless glass reinforces the open, uninterrupted sightline that makes curbless showers spatially effective. Hardware in a coastal environment should be brushed nickel, matte black, or PVD-coated brass: chrome and polished nickel show salt-air oxidation within two to three years in homes near Bonita Bay, Little Hickory Island, or any property west of U.S. 41.
Shower ventilation is non-negotiable in Southwest Florida. Year-round AC operation keeps interior temperatures comfortable but does not adequately exhaust shower humidity. A dedicated exhaust fan rated at a minimum of 1 CFM per square foot of bathroom area (typically 80–110 CFM for a standard secondary bathroom) should be ducted to the exterior, not just the attic. Florida Building Code requires attic-terminated bath exhausts to discharge to the outside, but older installations are frequently found venting into the attic, creating mold conditions.
For homes in Lee County’s wind exposure categories; most of coastal Bonita Springs falls in a 140–150 mph design wind zone under ASCE 7-22: the shower enclosure glass itself does not need to meet hurricane-impact ratings (it is interior glazing). However, if your bathroom renovation includes a window in the shower area, that window must meet Florida’s hurricane impact glass requirements or be protected by a code-compliant shutter system. Tempered glass alone is not sufficient for an exterior window in these wind zones.
If your remodel is part of a broader project, our Bonita Springs remodeling services page covers the full scope of what a Lee County-permitted renovation can include, from bathroom upgrades to structural modifications.
Frequently Asked Questions
How long does a curbless walk-in shower remodel take in Bonita Springs?
A bathroom remodel that includes a curbless shower conversion typically takes 3 to 6 weeks from permit issuance to final inspection in Lee County. Demo and rough plumbing take 2–4 days; the mortar bed or foam base system requires 24–48 hours to cure before waterproofing; tile work runs 3–7 days depending on scope. Lee County permit review currently runs 2–4 weeks for standard residential bathroom work, so plan your total project timeline around 6–10 weeks start to finish.
Do I need a permit to convert a curbed shower to a curbless shower in Bonita Springs?
Yes, in most cases. If the conversion involves moving a drain (which slab-on-grade curbless showers often require) a plumbing permit is mandatory. If you are replacing tile and waterproofing within the existing footprint without relocating the drain or modifying the structural floor, some jurisdictions treat it as a like-for-like renovation. A licensed Florida general contractor should evaluate your specific layout and pull the appropriate permits. Unpermitted plumbing work creates liability at resale and can void homeowner’s insurance coverage.
What is the minimum shower size for a curbless design?
Florida Building Code references a minimum of 30×30 inches for any shower compartment, but a functional curbless shower should be at least 36×48 inches, and 36×60 inches if aging-in-place use with a fold-down bench is a goal. Narrower curbless showers tend to splash water onto adjacent floors more readily because the slope geometry is compressed. If your existing footprint is tight, a linear drain positioned at the back wall helps contain water more effectively than a center drain in a small space.
How do I keep a curbless shower from getting water on the bathroom floor?
Proper slope toward the drain (minimum 1/4-inch per foot, ideally 3/8-inch), a correctly positioned showerhead angled away from the opening, a half-wall or frameless glass panel at least 72 inches tall, and an aluminum transition profile at the threshold all work together to manage water. A recessed or ceiling-mounted rain shower head directed straight down generates far less splash than a wall-mounted head angled toward the opening. In practice, some minor floor dampness at the threshold is normal and manageable with a low-profile bath mat.
If you are ready to plan a curbless walk-in shower for your Bonita Springs home, the team at Alliance Construction & Renovation is here to help. We are a licensed Florida general contractor serving Lee, Collier, and Charlotte counties, and we pull every permit required for code-compliant, inspected work. Call us at (239) 771-2855 to schedule a consultation, or visit our Bonita Springs remodeling page to learn more about the full scope of projects we handle in your area.

