


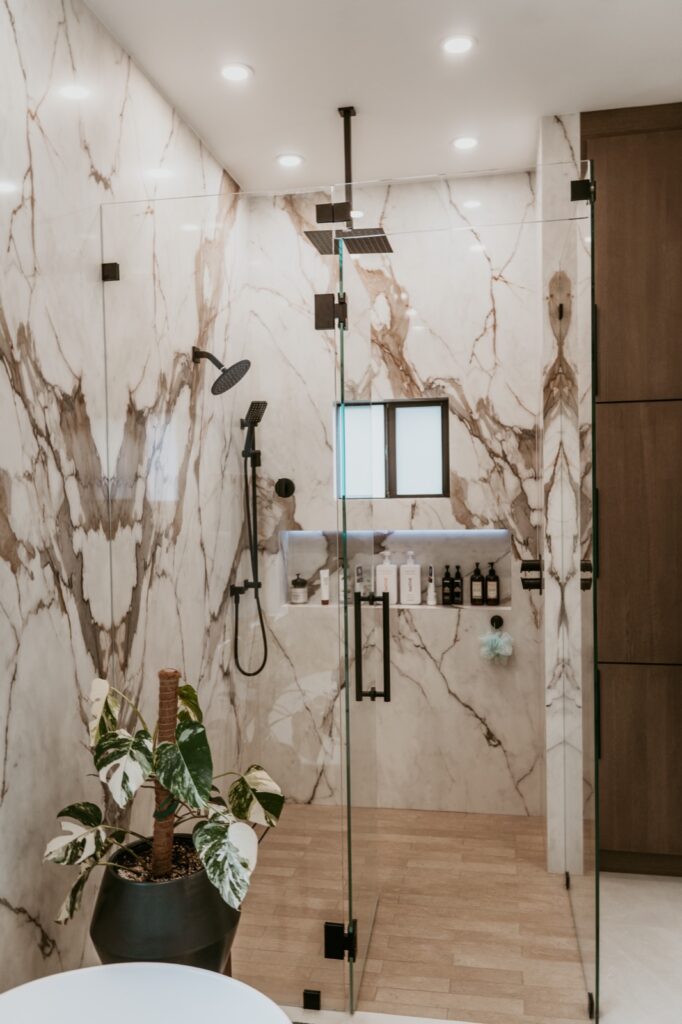
A smart bathroom tile layout punta gorda plan does more than pick a pretty pattern. It sets the lines for your shower walls, floor cuts, grout joints, niche placement, and transitions at the doorway before any thinset is mixed. That planning step can be the difference between a bathroom that feels clean and balanced and one that looks busy or uneven. In Punta Gorda remodels, tile layout also needs to respect slab conditions, shower drainage, and the way small room dimensions amplify every crooked cut. If you are remodeling a primary bath, guest bath, or condo bathroom, it helps to decide the layout first and choose tile sizes and trim pieces second.
Build the bathroom around one clear visual starting point
Every strong tile layout begins with a focal area. In many bathrooms, that is the back shower wall. In others, it may be the vanity wall, a full-height wet wall, or the floor tile as you enter the room. Picking one main reference keeps the room from feeling random.
Use the back shower wall as the anchor when possible
If your shower has a centered plumbing wall or a visible glass enclosure, the back wall is often the best place to create symmetry. Full or balanced cuts at the left and right edges usually look better than starting in one corner and accepting a tiny strip at the other side. Centering the pattern on that wall can also make niches and valves look more intentional.
Let the floor guide the doorway view
In small bathrooms, people often notice the floor first. That means the tile pattern at the doorway matters. A layout that lands with a thin sliver against the tub or vanity may not be obvious on paper, but it will stand out in person. Good planning often starts from the room entry and then checks how the same layout lands at the walls, toilet flange, and shower curb.
Match layout style to tile size
Large-format tile usually looks best with long, calm lines and fewer interruptions. Smaller tile can handle more pattern, such as a brick offset, basketweave, or mosaic feature area. The layout should support the tile, not fight it. If you are still comparing surfaces and sizes, reviewing examples from a recent remodeling gallery can help you narrow the look before final measurements are set.

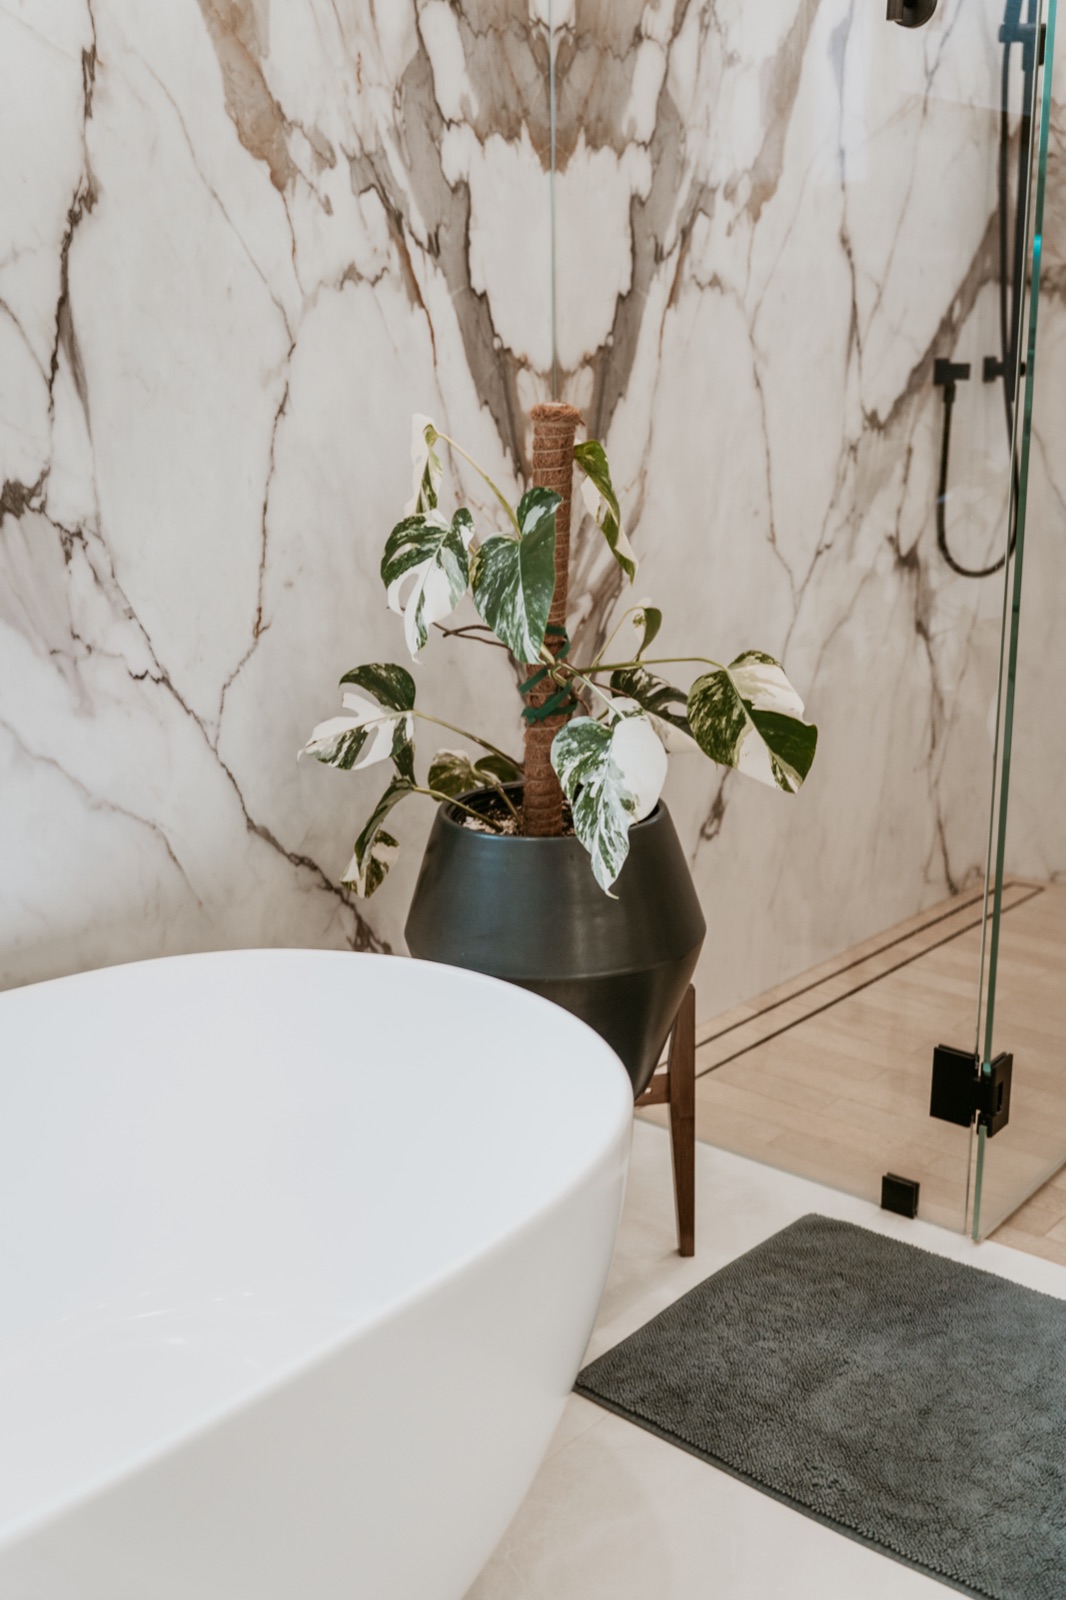
Bathroom tile layout Punta Gorda homeowners should check before installation day
Once the focal area is chosen, the next step is dry planning. This is where a layout goes from an idea to a buildable installation. It is easier to shift a centerline on paper than after the first row is on the wall.
Confirm actual room dimensions, not plan dimensions
Bathrooms are rarely perfectly square. Walls can bow. Corners can open or close. A slab floor may slope slightly toward an old wet area. Taking real field measurements at several points helps you see whether a centered layout will stay balanced all the way up a wall or across a floor.
Test how cuts land at edges and fixtures
Good installers look ahead to the end points. They check what happens at:
- Outside corners
- Shower curbs and benches
- Niches
- Toilet flange locations
- Vanity legs or side panels
- Door jambs and casing
The goal is not to avoid every cut. The goal is to avoid awkward cuts in the most visible places.
Plan grout-joint width early
A layout changes fast when grout joints change. A tile with a tighter joint may shift your centerline enough to affect a niche or drain location. Joint width should fit the tile type, edge style, and manufacturer guidance. For trade-standard installation questions, homeowners can review the Tile Council of North America technical FAQs. That resource helps explain why layout, substrate prep, and movement considerations all work together.
Check transitions before picking trim
The line where tile meets paint, wood, or another floor matters. A crisp metal edge trim gives a modern finish, while a bullnose or stone threshold can soften the look. In many Punta Gorda remodels, transition planning is especially important when a bathroom ties into existing flooring in the bedroom or hall and the owner wants a clean height change at the doorway.
Shower niches, benches, and drains should fit the layout, not interrupt it
Many bathrooms look disjointed because the tile was chosen first and the built-in features were placed later. A better sequence is the opposite. Set the feature locations while the room is still being framed or prepped, then adjust the tile layout around them.
Center niches to the tile field when possible
A niche should not look like it was cut into the pattern as an afterthought. If the niche lands between grout lines or cuts through the middle of decorative pieces, the eye notices. It often looks cleaner to size or position the niche so its edges align with grout joints or full tile modules.
Bench faces and tops need separate layout decisions
Benches are not just one surface. The seat top, face, and side returns may all need different cut planning. If the shower wall tile is large format, a bench face with several tiny pieces can feel out of place. Many remodels look better when the bench face continues the main wall layout and the seat uses a single slab-style piece or a well-planned stone top.
Drain placement affects floor tile choices
Floor layout in the shower depends heavily on the drain type. A centered point drain often works well with mosaics because small pieces can follow the slope more easily. A linear drain can support larger tile pieces and longer visual lines, but it needs layout planning early. The drain should feel aligned with the shower opening and wall pattern, not drift to one side without purpose.
Homeowners planning a full wet-area update can compare broader scope options on the bathroom remodeling page before finalizing tile and fixture combinations.

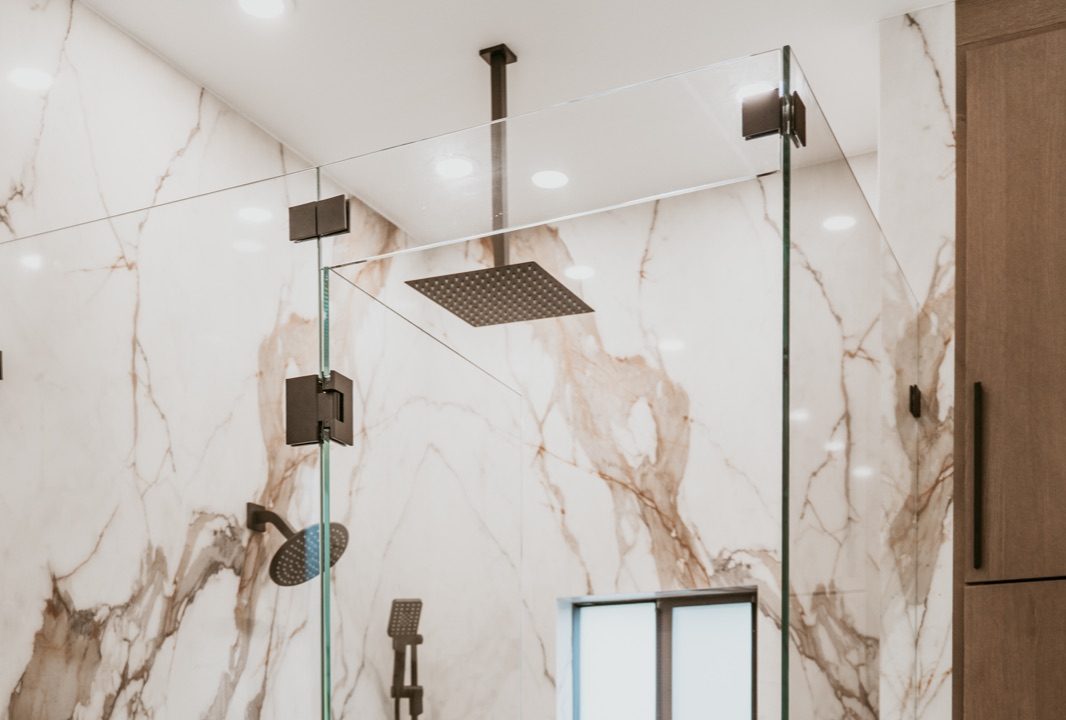
Choose floor and wall patterns that suit bathroom size and light
A layout that looks dramatic in a showroom can feel crowded in a compact bathroom. Pattern scale should fit the room. In Punta Gorda homes, that often means balancing style with visual calm, especially in guest baths and seasonal residences where owners want a clean, easy-to-maintain finish.
When stacked layouts make sense
A stacked pattern places tiles in straight vertical and horizontal lines. This layout works well in modern bathrooms and with rectified porcelain. It can make a small room feel organized and taller, especially when wall tile runs to the ceiling. It also pairs well with simple plumbing trim and frameless glass.
When offset patterns work better
A brick or running-bond pattern can soften the look of rectangular tile. It is popular with subway tile and some wood-look floor tile. Still, the offset amount matters. Some large rectangular tiles may not suit a half-offset because of natural warpage. A smaller offset can produce a flatter, cleaner installation.
Where herringbone and feature walls belong
Herringbone can add movement, but it takes more cuts and stronger visual attention. It often works best on one wall, inside a niche back, or on a bathroom floor with otherwise simple finishes. If every surface carries a strong pattern, the room can start to feel smaller. A common approach is to keep the main field straightforward and place the bold pattern where it can be appreciated without taking over the room.
Use contrast with care
High-contrast grout makes every tile edge more visible. That can be striking in a powder room or accent wall, but it also highlights any spacing irregularity. Low-contrast grout gives a softer look and lets the whole surface read more evenly. For many remodels, especially bathrooms with natural stone looks or soft neutrals, a close grout color supports a calmer result.
Account for slab floors, moisture, and occupied-home remodeling details
Southwest Florida bathrooms are often built on slab foundations, and that affects layout and preparation. A beautiful pattern still depends on a sound, flat surface. Humidity and storm-season scheduling can also influence product handling and work sequence, even if they do not change the design itself.
Flatness comes before pattern perfection
Large-format tile needs a flatter substrate than many homeowners expect. If the floor dips or the wall waves, the layout may technically fit but the finished surface can show lippage or uneven reveals at trim pieces. That is why floor prep and wall prep are part of layout planning, not separate from it.
Moisture management belongs behind the tile
Tile and grout are the visible finish, but the waterproofing system behind the shower tile is what protects the assembly. Layout decisions should work with that system. For example, niche placement, bench shape, and curb details all affect how waterproofing is installed before tile goes on. A layout that looks simple on the surface may become much harder if those details were not coordinated early.
Think about occupancy and access during the remodel
In Punta Gorda, some homes are occupied year-round and some only seasonally. That can shape the best time to remodel and how material selections are staged. If the home is in use, product lead times, demolition sequence, and access to the remaining bath areas should be discussed before layout choices lock in specialty trim or custom-ordered tile.
For location-specific remodeling guidance, homeowners can also review Punta Gorda remodeling services to see how bath work fits into broader home updates.
Frequently asked questions about bathroom tile layout punta gorda
Should bathroom floor tile line up with shower wall tile?
Not always. In some bathrooms, lining up the floor and wall joints creates a clean, intentional look. In others, forcing them to align leads to poor cuts at the perimeter or awkward niche placement. The better approach is to decide which surface is most visible, then let that surface lead while keeping the other layout balanced and consistent.
Is large-format tile a good choice for a small Punta Gorda bathroom?
Yes, it often is. Large-format tile can reduce grout lines and make a room feel calmer and more open. The key is careful planning around corners, plumbing fixtures, and floor slope. If the room is out of square or the shower floor needs many directional cuts, a mix of large wall tile and smaller shower floor tile may work better.
How do I avoid skinny tile cuts around the bathroom?
Start with measured layout lines before installation begins. A centered pattern, adjusted joint width, or small shift in the starting point can often turn a thin edge piece into a larger, better-looking cut. It also helps to plan around the doorway view, shower back wall, and vanity line first instead of starting in the least important corner.
Should niches and benches be designed after the tile is selected?
They should be designed with the tile, not after it. Once tile size, orientation, and grout spacing are known, the niche and bench dimensions can be adjusted to land more cleanly within the pattern. That coordination usually produces better alignment, fewer tiny cuts, and a shower that feels like it was planned as one complete system.
Alliance Construction & Renovation helps homeowners plan a practical, attractive bathroom tile layout Punta Gorda residents can live with for years. If you are sorting out shower walls, floor patterns, niches, or tile transitions, call (239) 771-2855 or request an estimate.